

The exception – story mod for the game STALKER: Call of Pripyat, in which gamers take on the role of an experienced assassin named Thomas, who will have to eliminate a certain group of foreign stalkers. In this guide we have detailed the completion of all available quests and also provided useful tips for the game.
Other walkthroughs of mods for STALKER
Customer
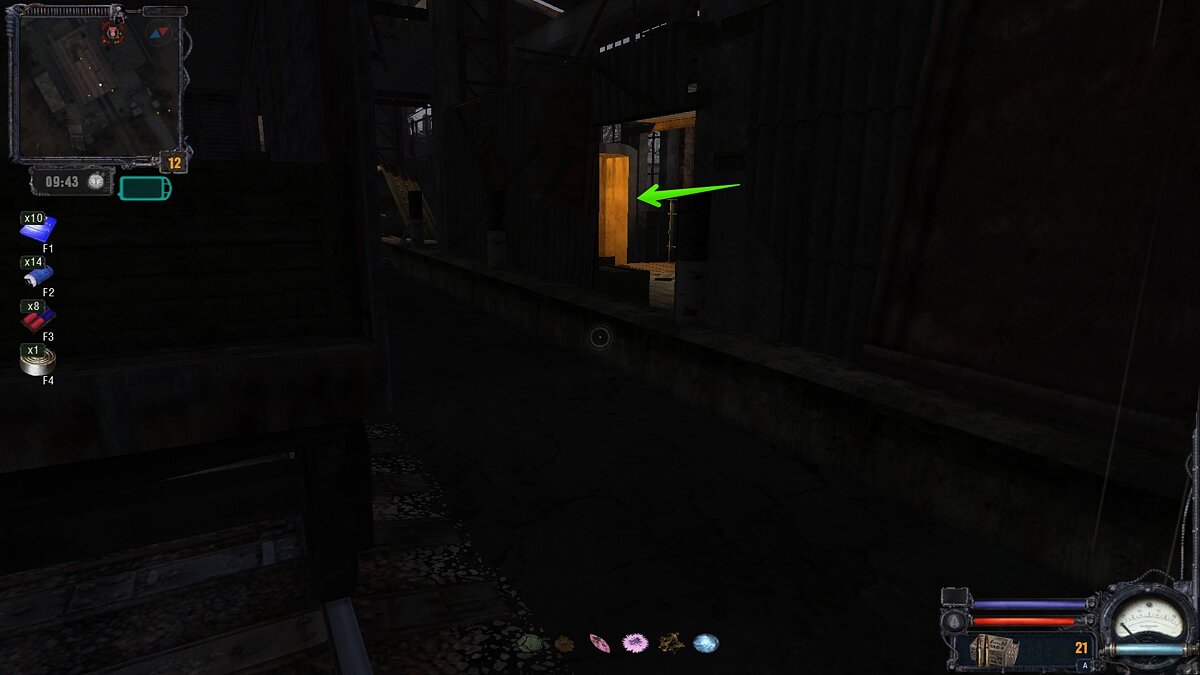
You appear at the edge of the location, next to where the customer is waiting for you. It is located on the top floor of an unfinished building. Go up the stairs and talk to him.
")
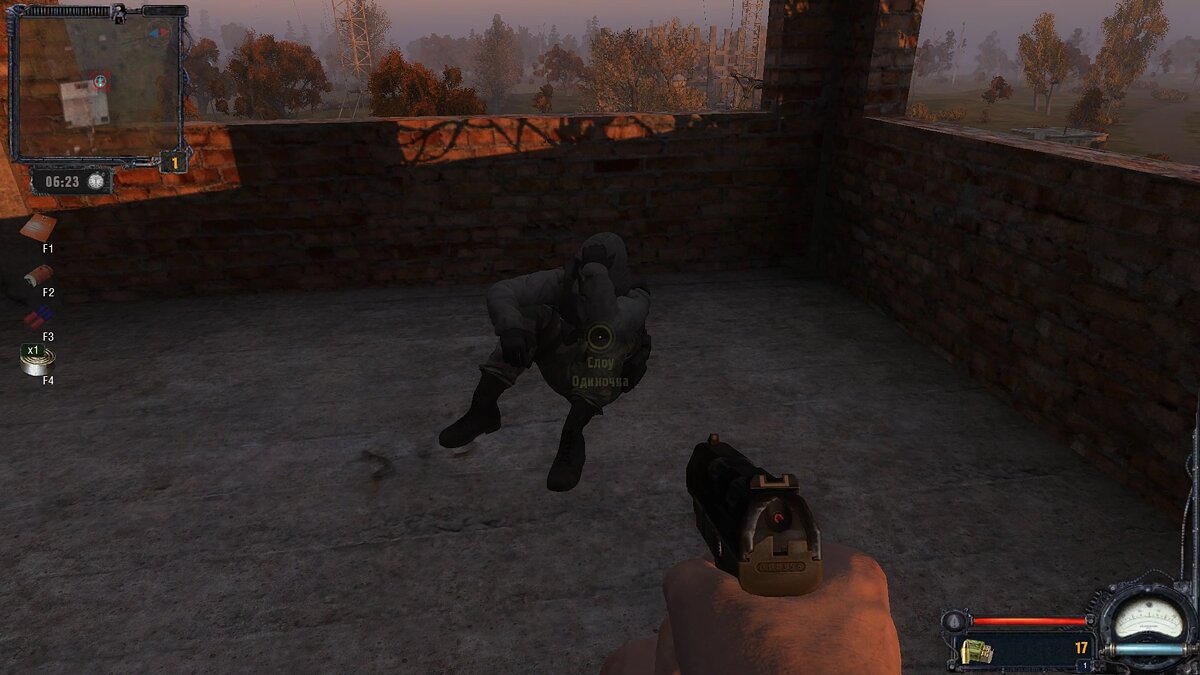
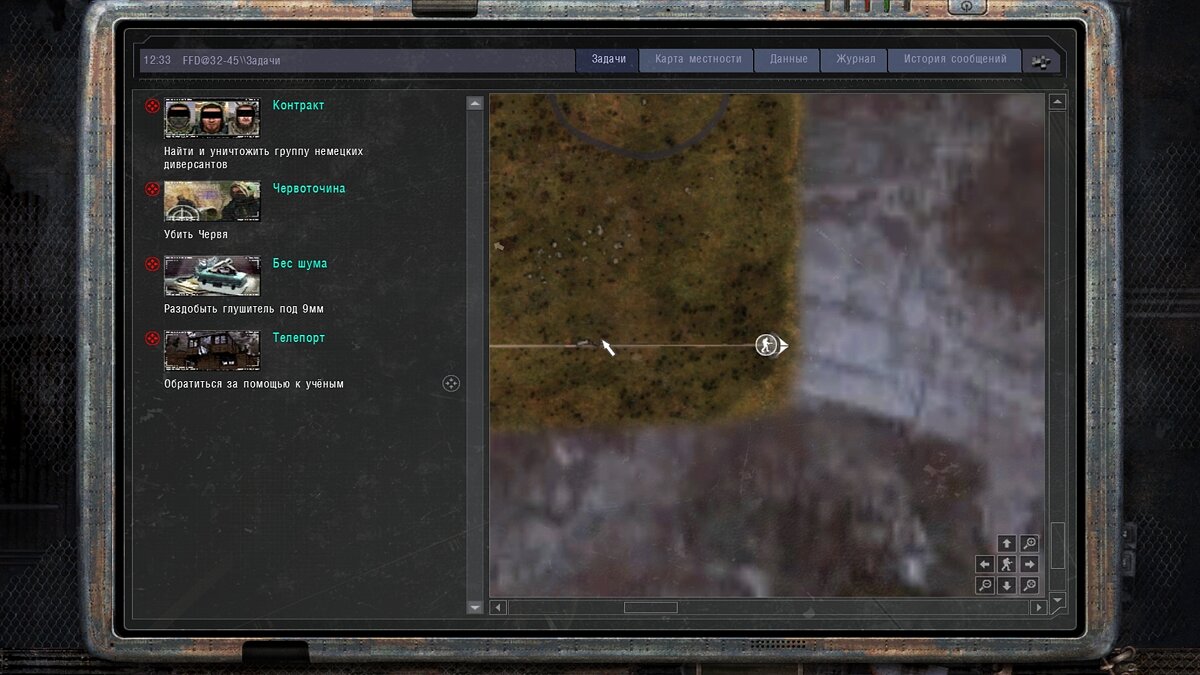
After the conversation, two quests will appear in the task log at once, but one of them will be active almost until the end of the passage. Give preference to tasks marked with a marker on the map.
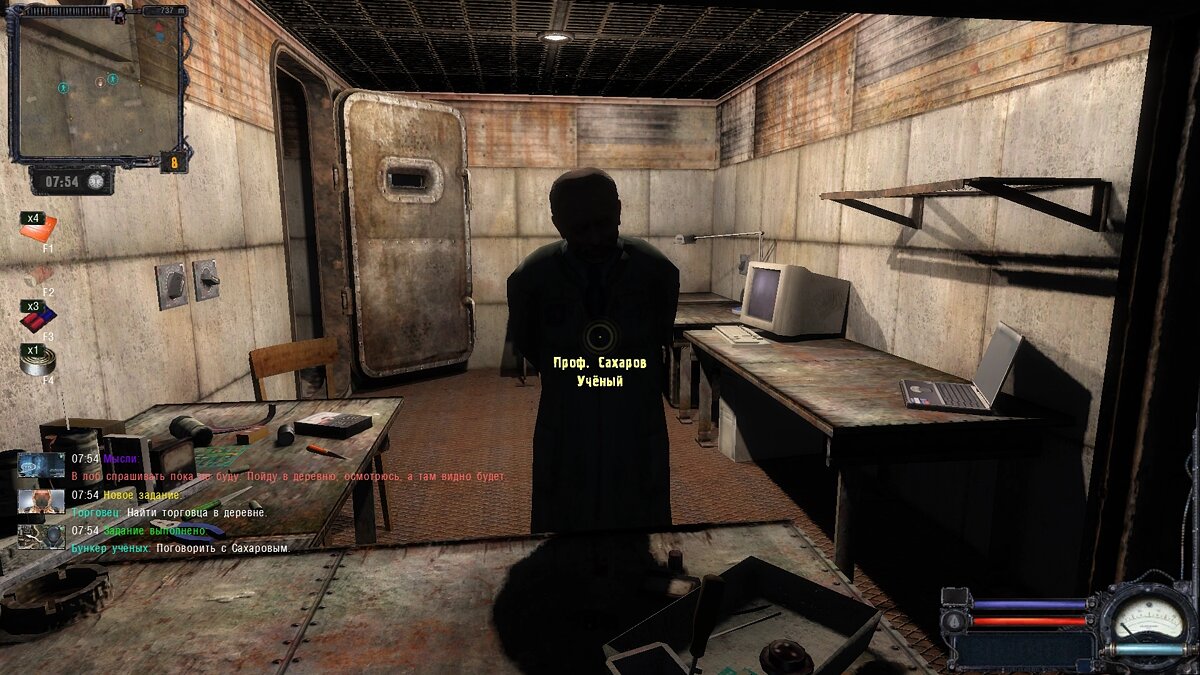
Scientists Bunker
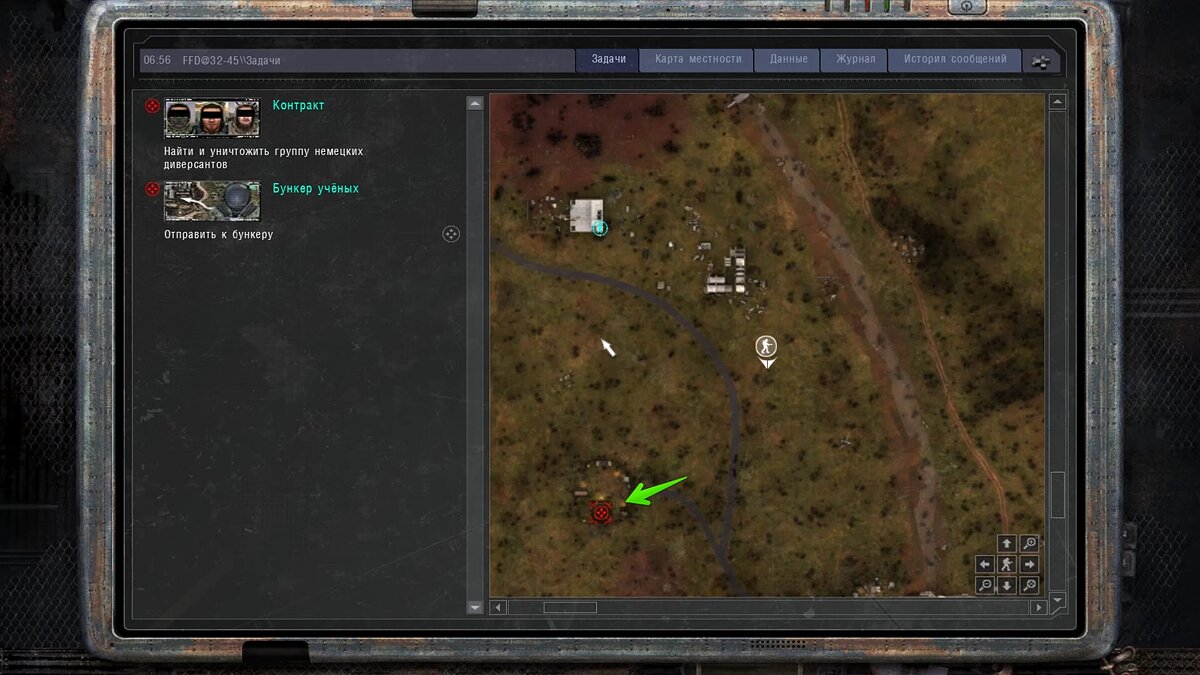
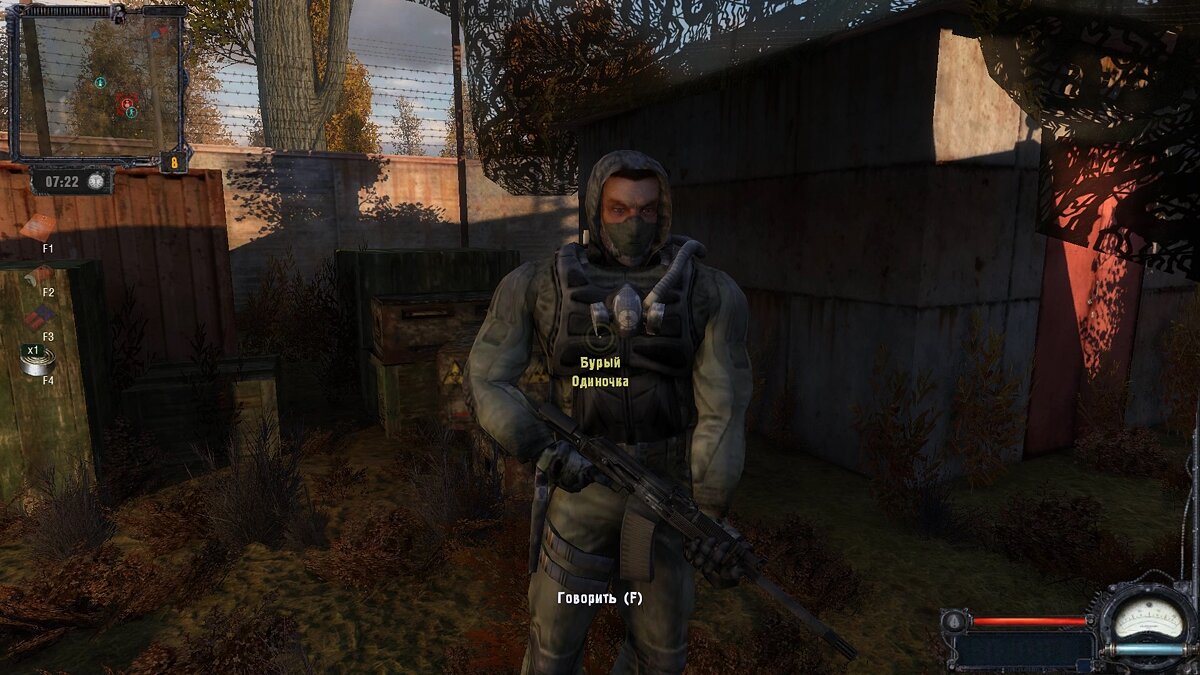
From the meeting point with Slow, run along the road south – this will take you to the scientist base. As you approach the bunker door, the task will update. Turn around, talk to Bury, then go to Sakharov to continue the quest.
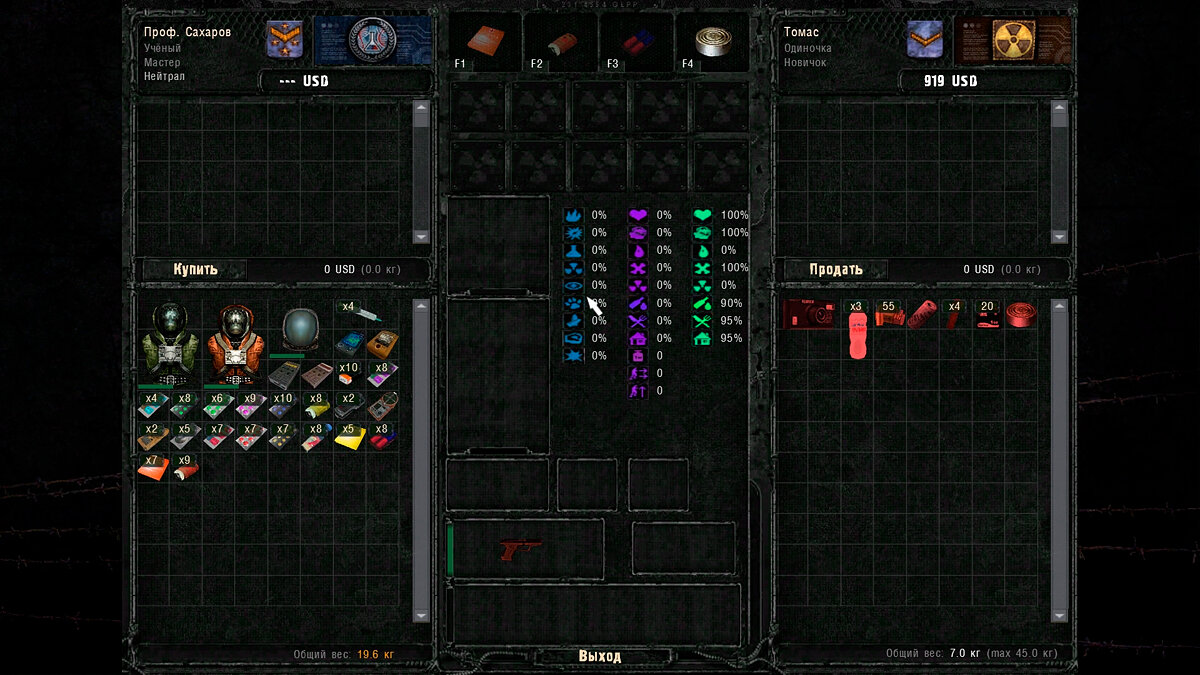
From the scientist himself you can buy various medicines, anomaly and artifact detectors, as well as a Geiger counter. We advise you to save money to buy an anomaly detector as it will save your life more than once while traveling through locations. The artifact detector will of course help you extract resources and make good money. As for scientific kits, they will also be useful, because with most anomalies the main character will suffer various negative effects.
After talking to Sakharov, you will receive a tip that should lead you to the merchant. However, we do not recommend rushing: since there are no additional tasks to earn money, you can go hunting for monsters and then sell parts of their bodies to a scientist.
Dealer
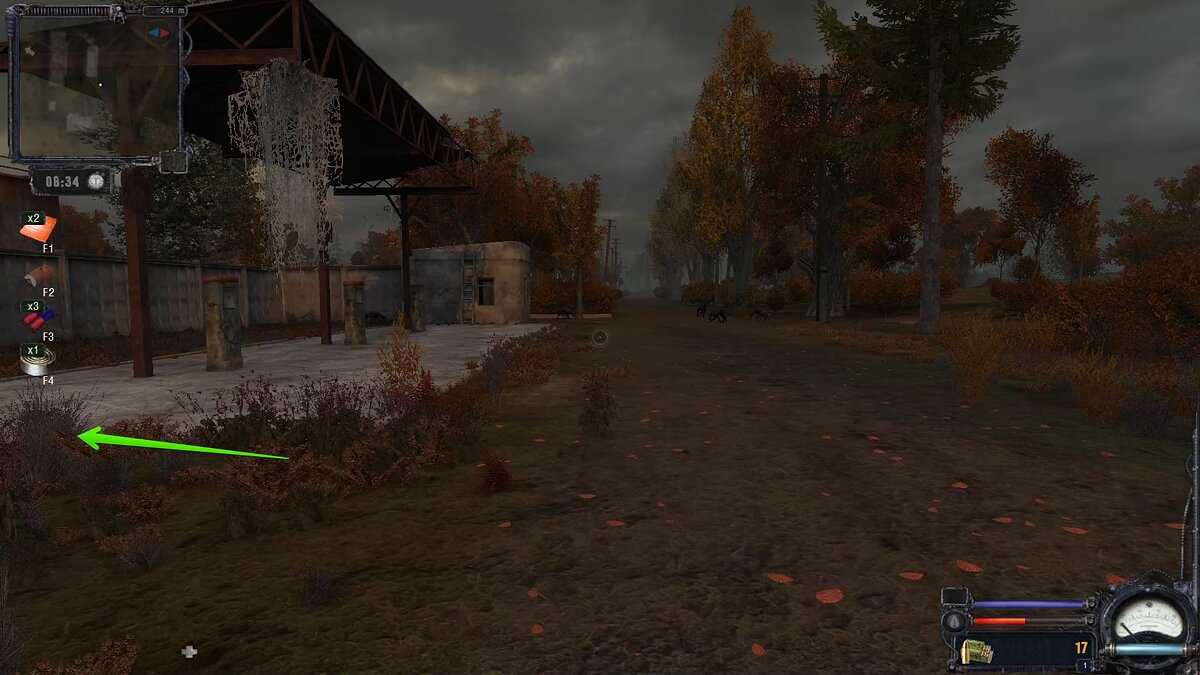
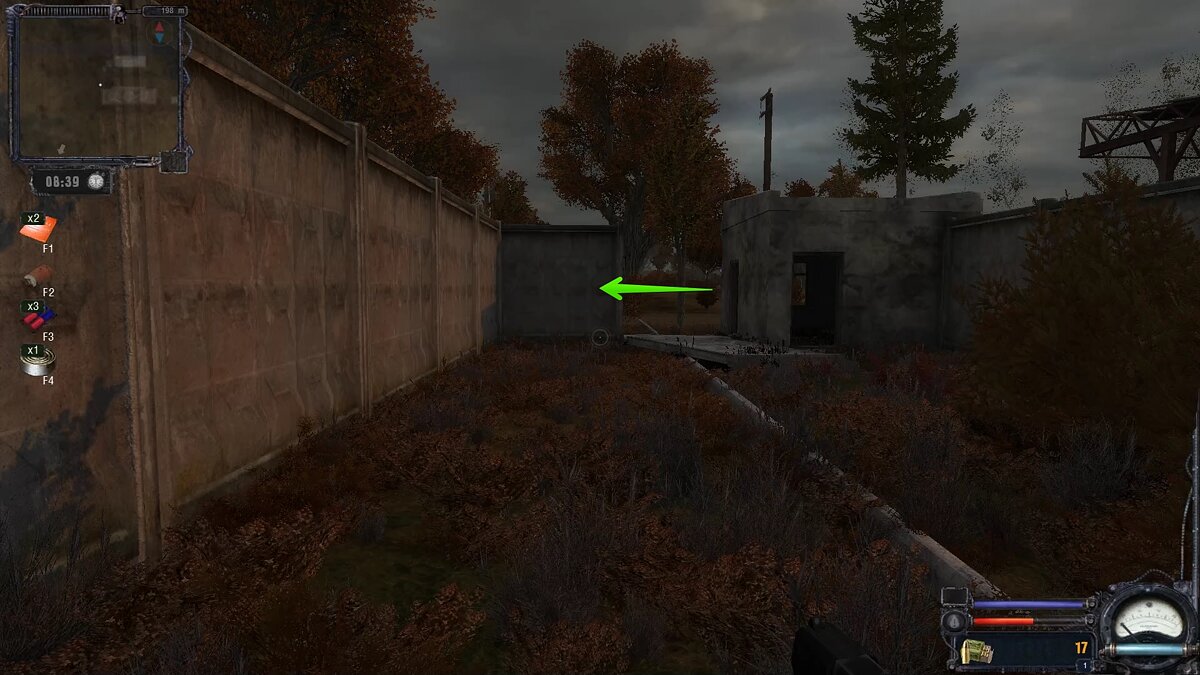
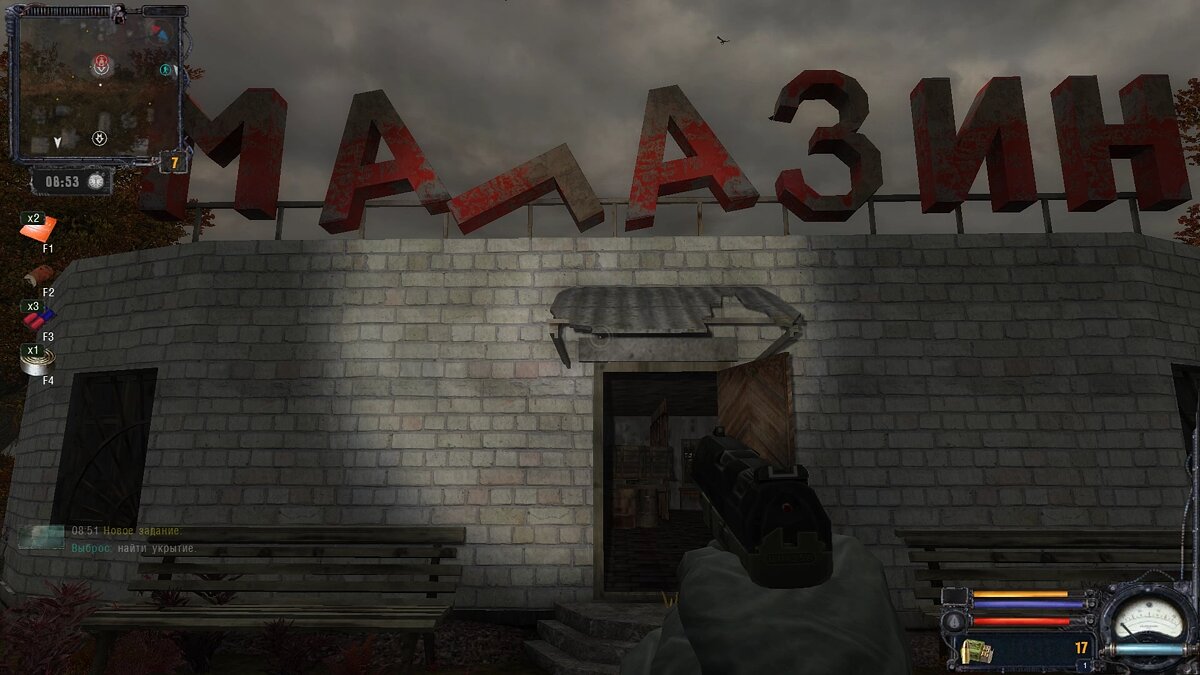
Good old Sidorovich awaits you in a small village approximately in the center of the location. If you follow the road, you will pass two checkpoints, after which you are sure to encounter a pack of dogs. Whether or not you kill them is up to you. If you want to get around, turn left before the gas station, walk past the huge tanks and then exit on the other side.
In the village itself, in attics and roofs, you can often find stalker caches. However, searching for such objects in this modification is a thankless task, especially since they only become interactive after the coordinates are found. The maximum you will find is food or drink, which Sidorovich does not buy and which will be left lying around in your backpack until an overload occurs.
Intelligence Service
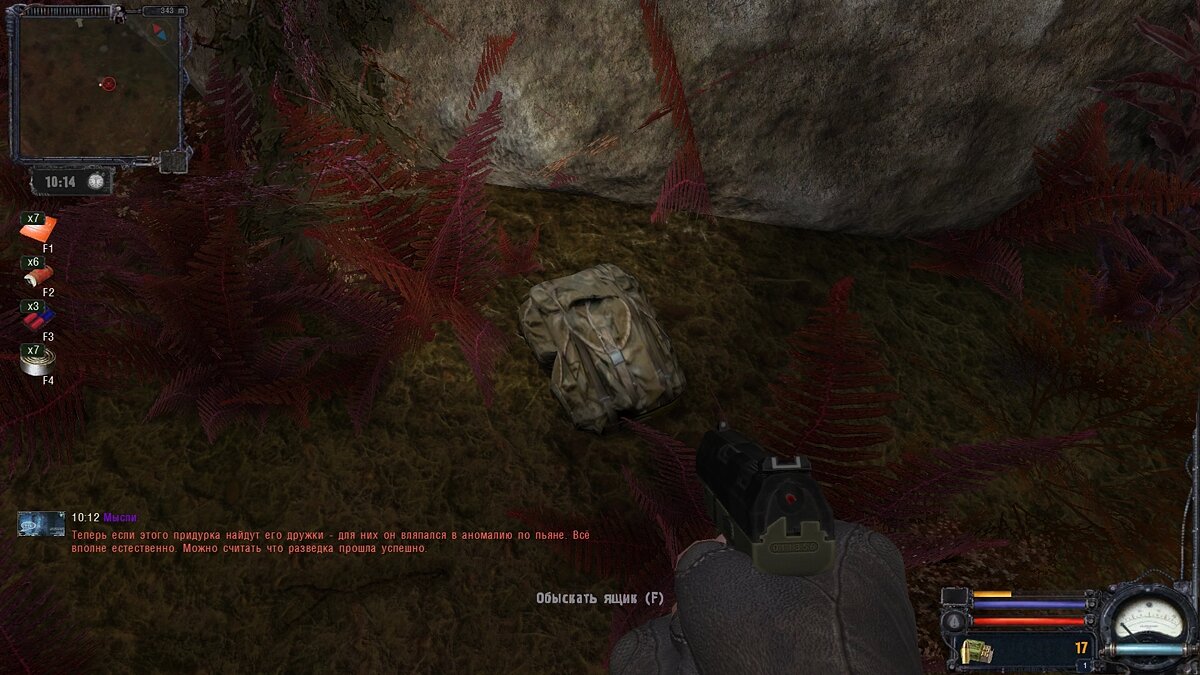
The merchant will be willing to help and will try to inquire about the group of stalkers Thomas is looking for, but at the same time he will put some work into it. We need to get rid of the leader of the bandits who have settled in a nearby village. Just follow the marker and watch a short cutscene, then don’t forget to search the dead bandit’s cache.
Remark: now if you try to clear the village you will receive a mission failure message. However, this does not affect the plot in any way, because upon returning to Sidorovich he will still issue the next quest. We recommend that you do not get involved with the bandits yet, because after completing a number of mandatory tasks you will receive an automatic weapon and a shotgun.
For completing the task you will receive $3,000.
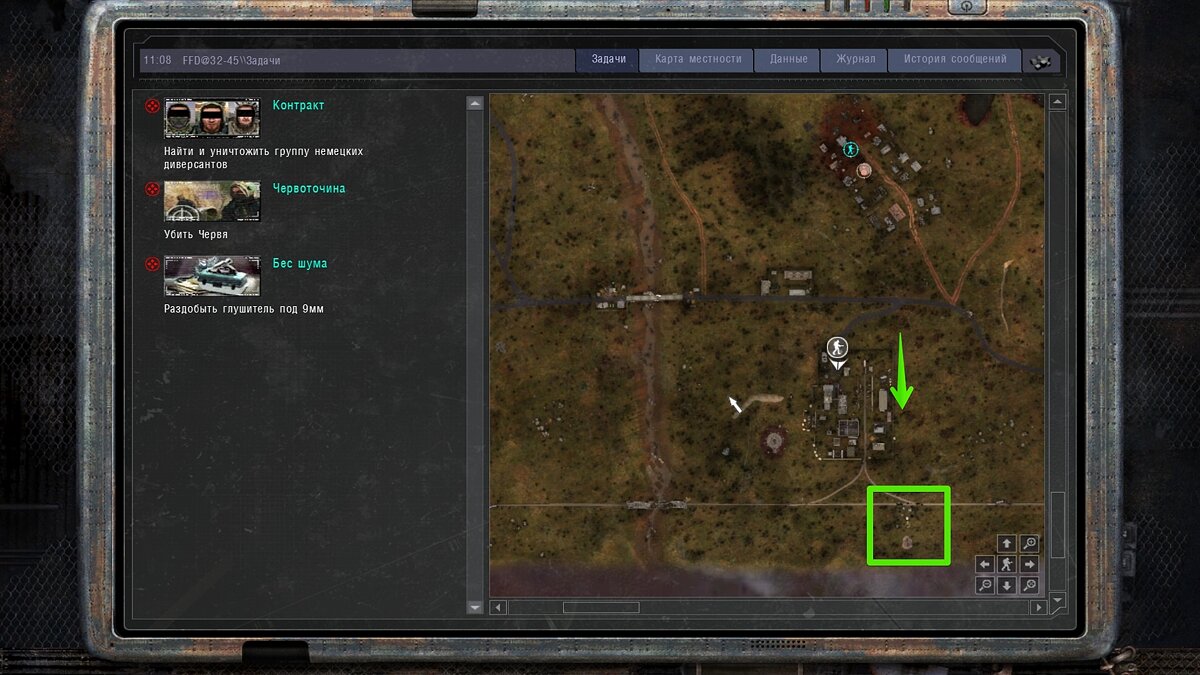
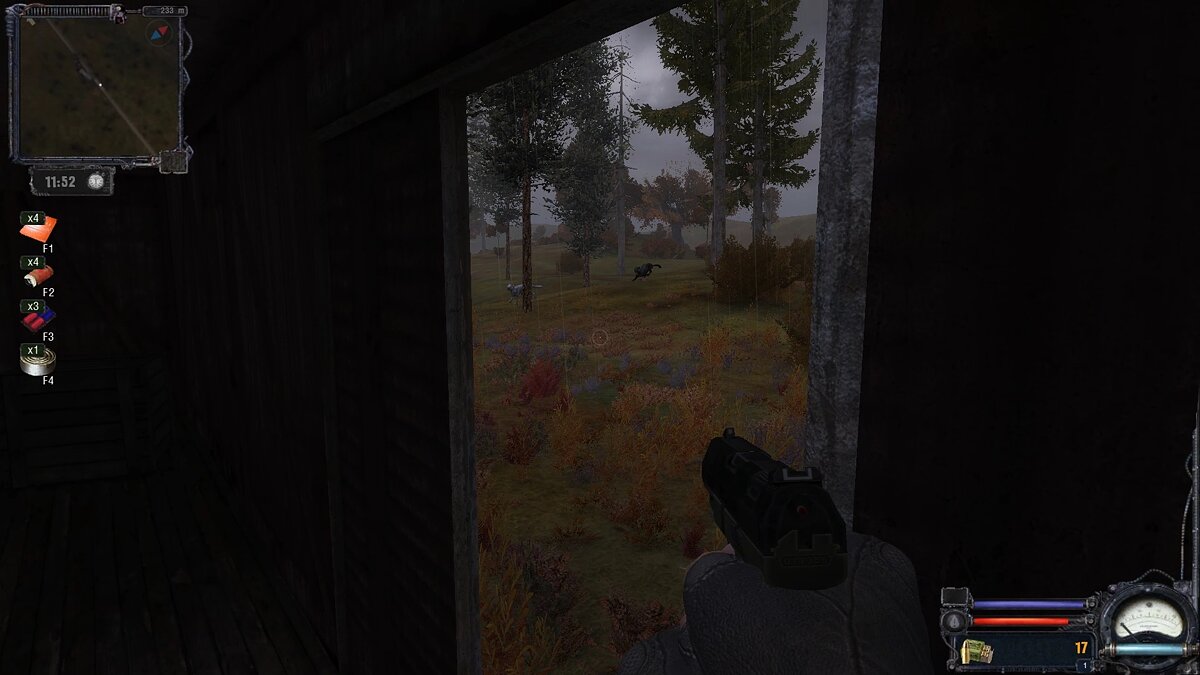
No sound. Where can you find Camp Freedom?
To complete the next quest, you’ll have to do a little work for Freedom and Scientists. Sidorovich says that he has no modules for weapons and the main character wants to clear the bandit camp without making noise. For this you need a 9mm muffler.
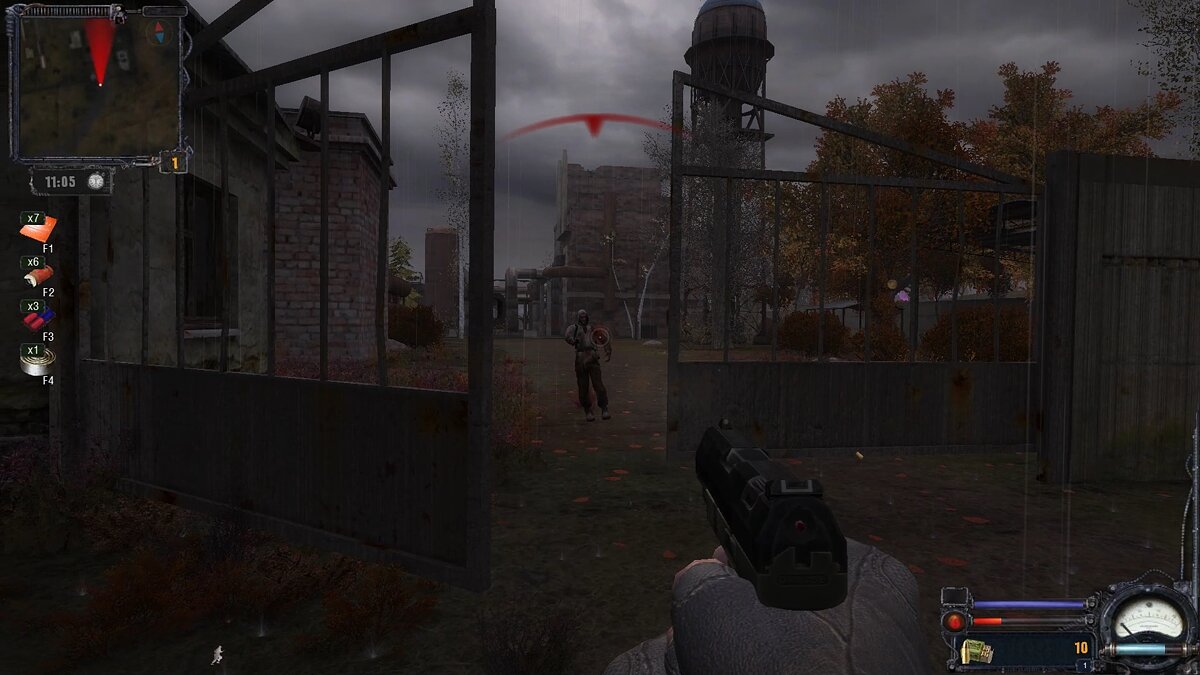
The Freedom camp the trader mentioned is located in the lower central part of the map, directly behind the large production facility where the zombies live. You can bypass it or erase it – it’s up to you.
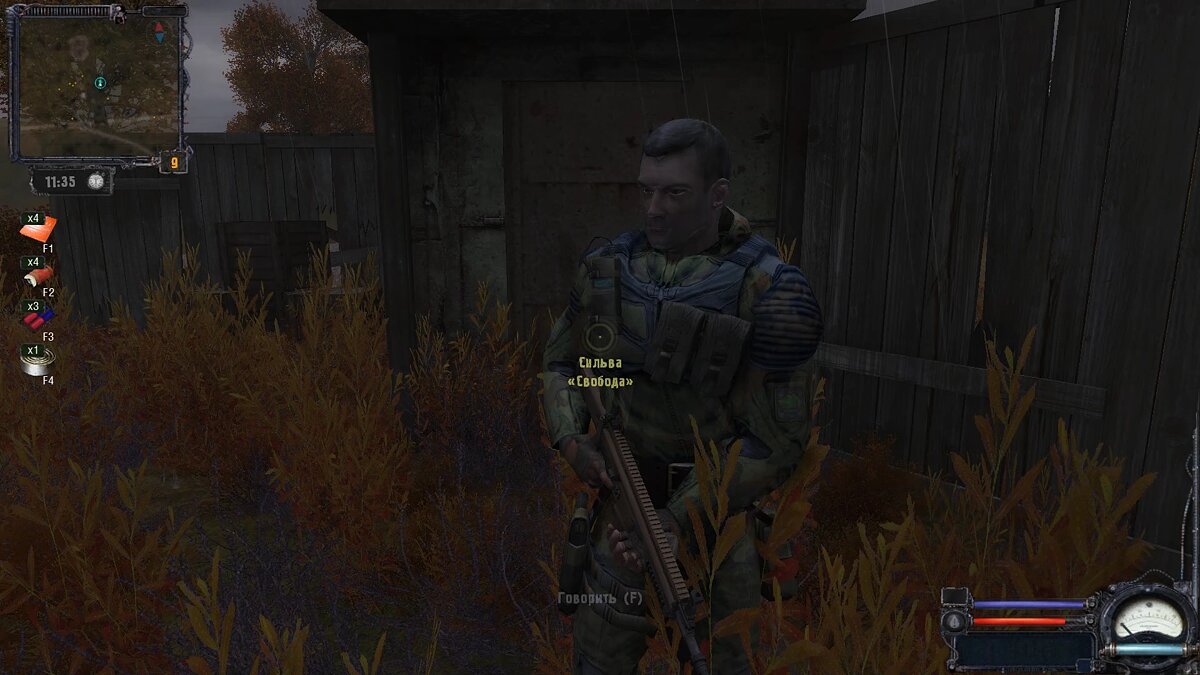
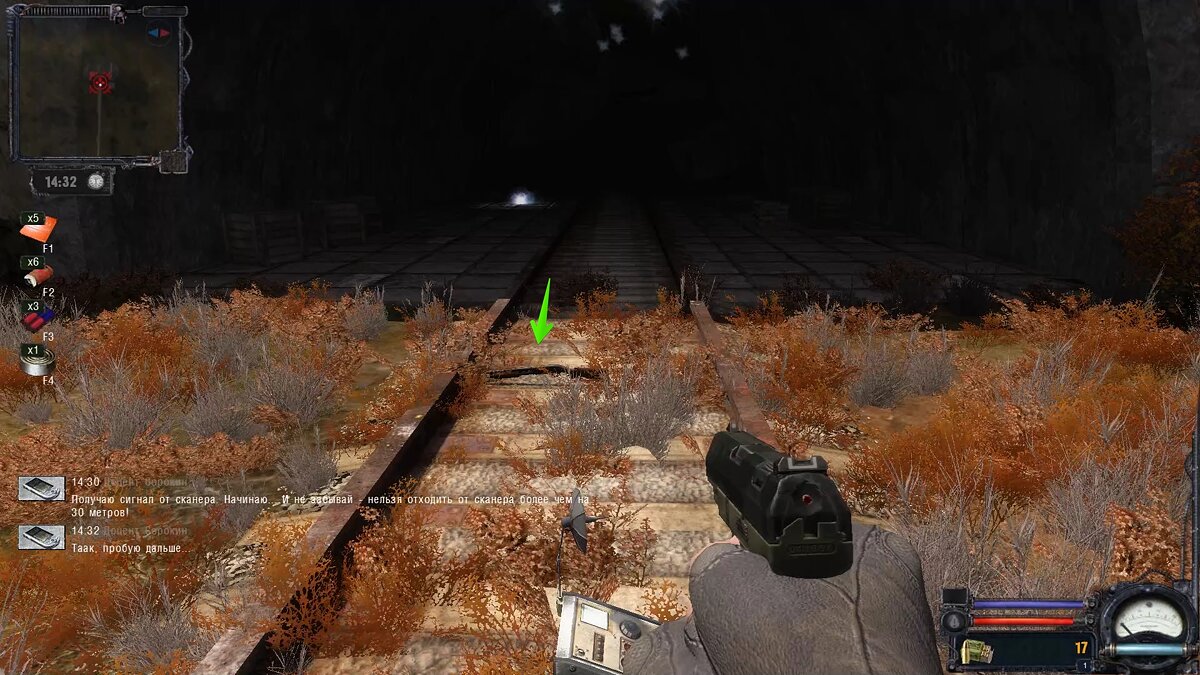
Talk to Silva at the base itself. The character will tell you about a certain artifact that can be observed in a nearby tunnel, but there is no way to get to it. This begins the quest “Teleport”.
Teleport
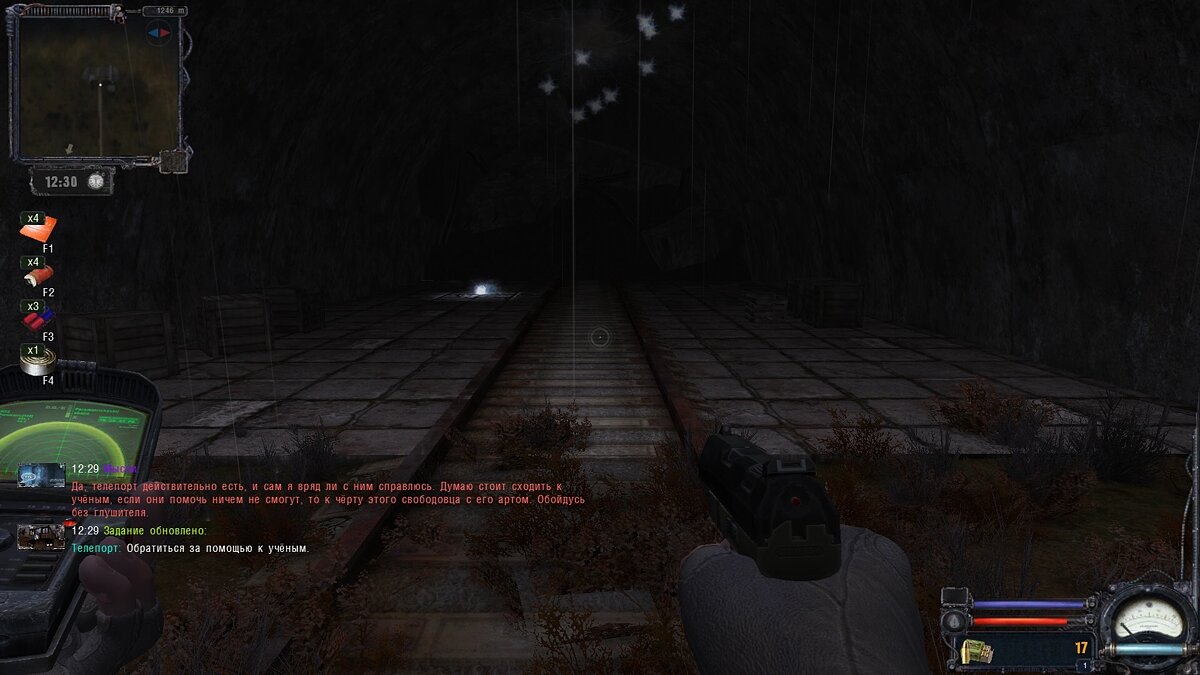
If you go to the marked area, get ready to meet mutated cats that live next to the railway tracks. You can climb on the cars to neutralize them safely.
Try to reach the artifact – nothing will work. At this moment, the main character’s thoughts appear on the screen, in which he advises returning to the scientists.
If you decide to take a shortcut to the bunker instead of following the road, you will encounter kinks and wild boars. You can kill them to sell the resources to scientists.
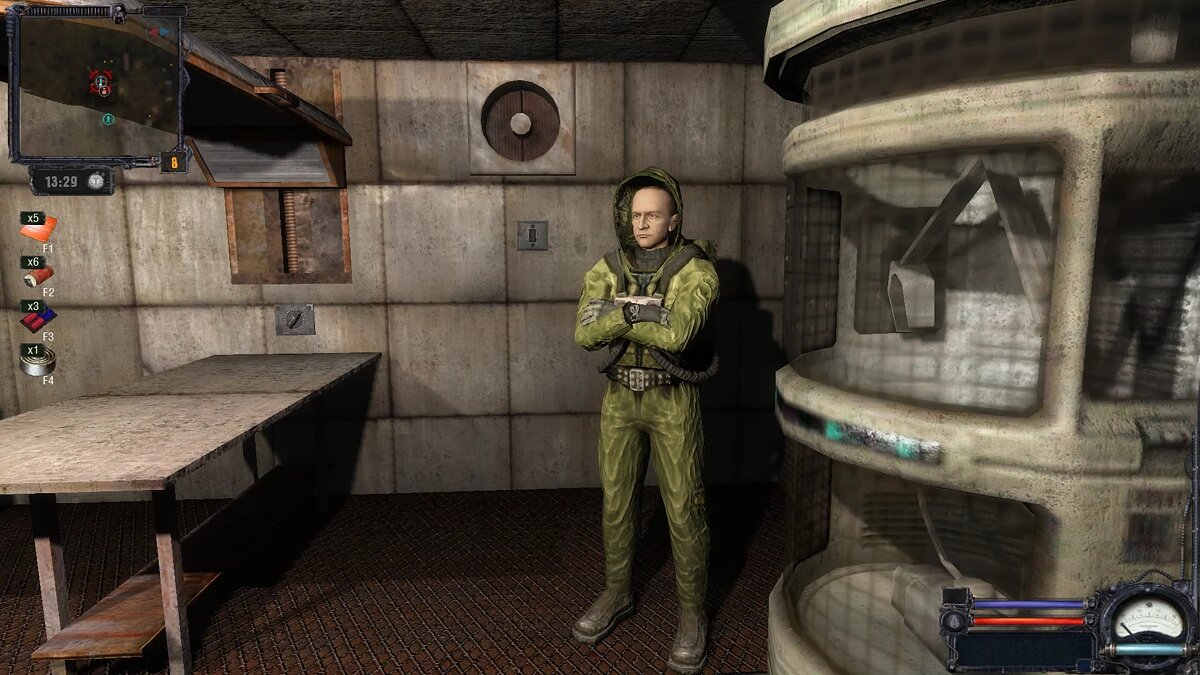
Sakharov will advise you to contact the associate professor. He’s waiting in the next room. You don’t have much choice, so after receiving the device, run again to the anomaly in the tunnel.
Install the scanner next to the teleport and get ready to encounter enemies. When you first start, a shotgun will appear – pick it up immediately and wait.
The third time, a pseudo-dog teleports to the hero, and then he snorkels. Eliminate the threat and the anomaly will disappear. As soon as you pick up the artifact, enemy mercenaries will appear. Save first to avoid replaying the last segment, as the character will sway back and forth for a while after the cutscene.
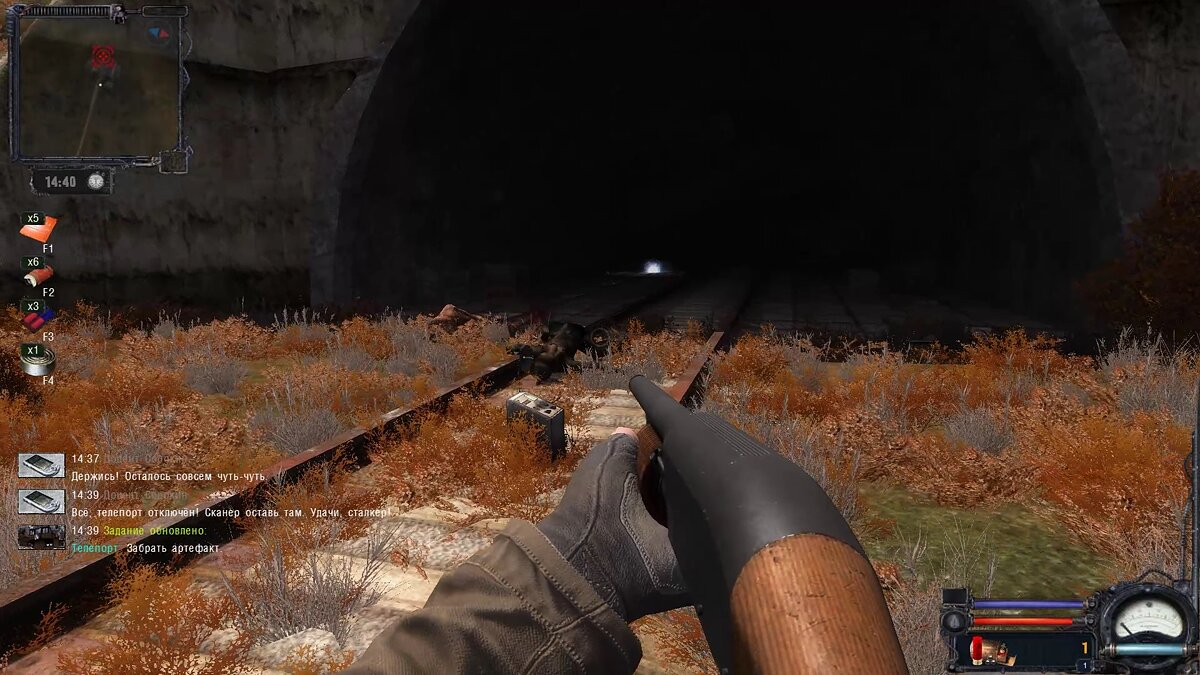
After dealing with the opponents, you can take away their weapons for the first time (it will be impossible to repair the weapons, as they are in critical condition), and also remove the PDA from the body of one of them. Return to the Svobodovite and give the artifact in exchange for the silencer. As a reward you will receive:
- Dollars (15,000);
- Silencer;
- UMP45;
- .45 ACP cartridges.

Wormhole
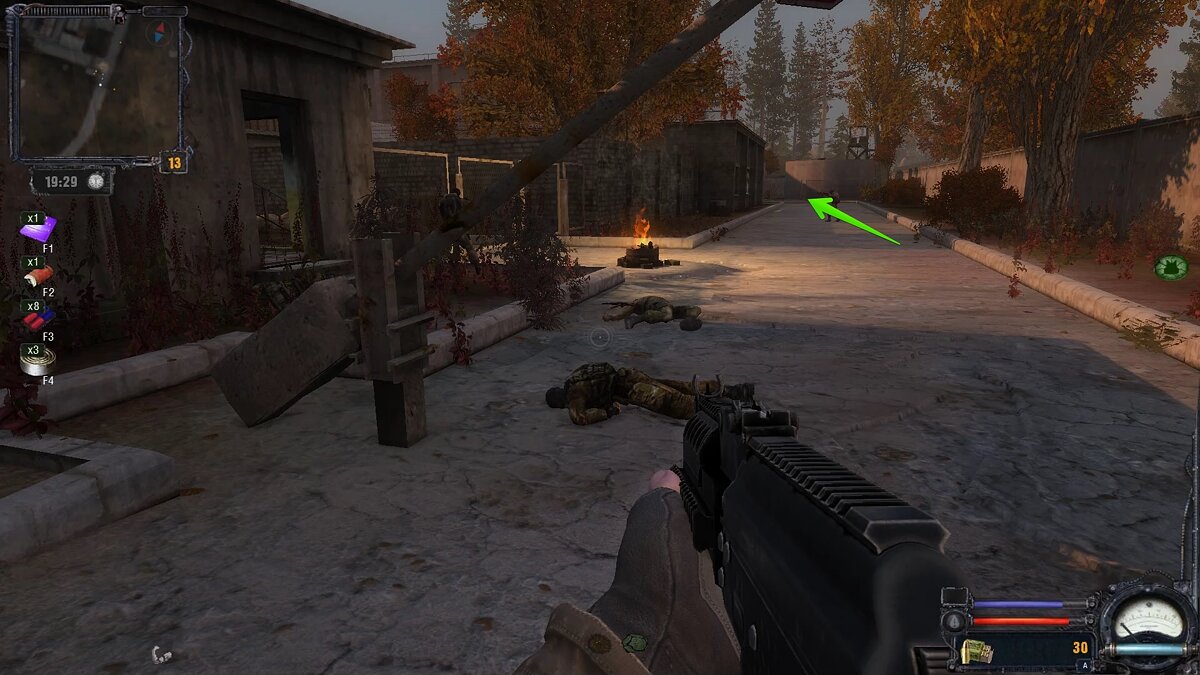
After completing several previous tasks, you can start eliminating the bandit leader. However, personally we didn’t need the silencer at all, because the bandits notice the main character from a great distance. You will first have to buy a sleeping bag from Sidorovich or wait, which is much longer.
In total you have to destroy about ten enemies. Don’t try to hide behind wooden shelters, because opponents are cheaters and therefore shoot at the hero. Trees and walls of houses will be your reliable shelters, and if necessary, use save and load.

Don’t forget to examine the corpses of your enemies. You won’t find much loot, but you will get the coordinates of some caches. When you’re ready, return to Sidorovich for the next task.
Sidorovich’s flair
To activate the quest, you must first sleep. But if the main character does not want to rest, he will have to use certain drugs or vodka – the easiest way to increase fatigue.
The task is quite simple: go to the point marked on the map, place the container with garbage and go to the nearest hill. When the stalker approaches and tries to open the briefcase, you can kill him immediately without dialogue, or you can say hello to the merchant first.

As a reward you will receive $7,000 and some information about the stalker group.
Survivor
In this task you have to talk to the Wolf and the newcomer and follow the latter to the place where the bloodsucker appears. This quest is the last in this location, so after the second dialogue with Sidorovich, prepare to go to Agroprom.

New information. What to do with debtors
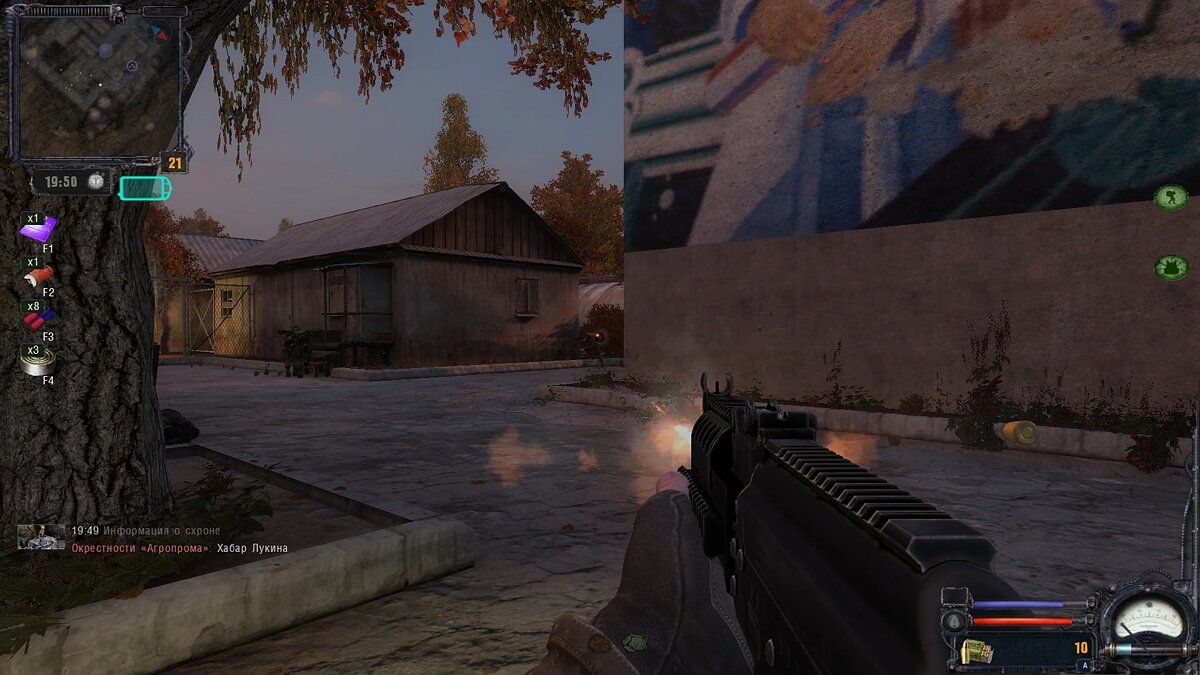
As soon as you arrive at Agroprom, you will deal with a small group of debtors of three people. Lower your weapon and approach the commander. It will not be possible to reach an agreement, so immediately after the conversation, quickly eliminate all three.

At the same time, the PDA receives a message from another group of stalkers waiting to the northwest of the location. The ferret will explain what needs to be done and also pass on the coordinates of the Mole. We advise you to follow the road and not approach the military base, because the hero will be shot by snipers. Along the way you will also come across several military checkpoints.

Hostages
Upon reaching the Mole’s base, players will receive coordinates for the entrance to the tunnels. The red dot marks the transition, but the entrance to the dungeon itself is slightly to the north.

Remark: Be sure to take a lot of ammunition and medicine with you, because the coming journey will be long and in the dungeons you will encounter a huge number of different mutants – from rats to burers.
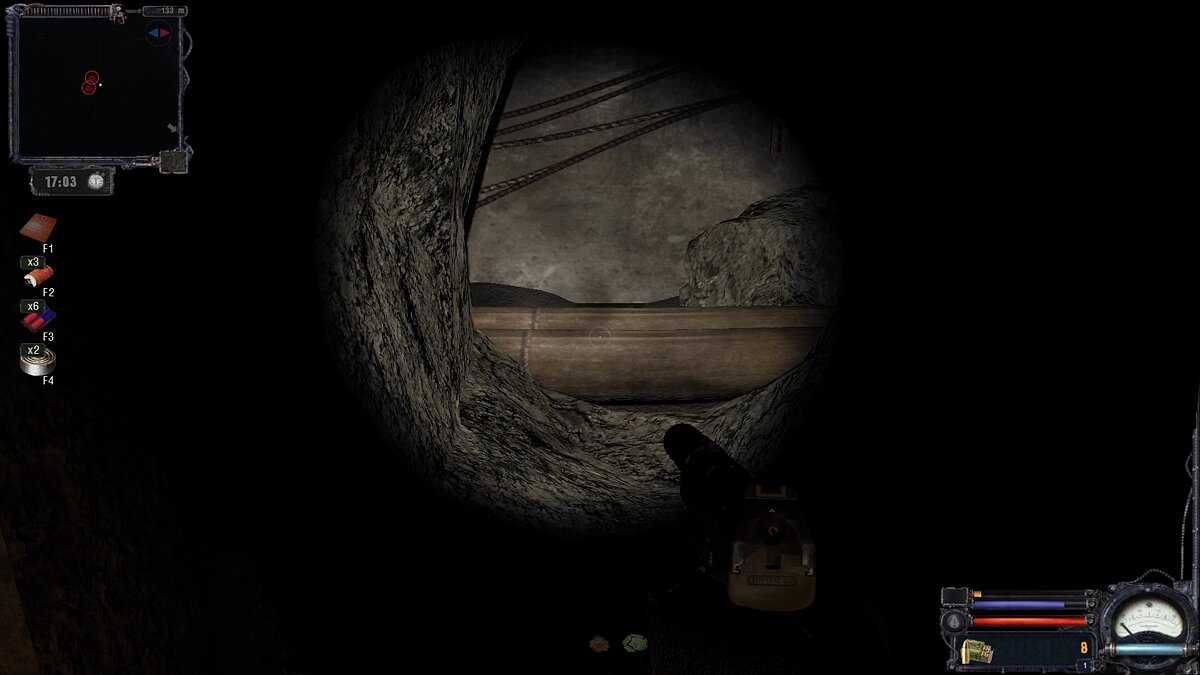
Enter the passage dug by the snorkels and climb onto the ledge on the left. There’s also a manhole here: if you can’t climb up on foot, try in a squat.

Here the player is met by the first enemies. First it will be jerboas and then snorkels. We advise you not to run directly after the marker, but to go to the right side of the mine. Here you will find a spacious extension with two milling machines. When you use an anomaly detector, a rare and expensive “mineral” artifact will appear in the middle of the room.

Once you go through the passage, kill the pack of snorkels and go right through the tunnel. Once you reach the stairs, several dwarves will appear – these opponents are quite tenacious. The main path leads up the stairs, but if you want to find some artifacts, head right and investigate the anomalies.
After going up the stairs, look at the shelves on the right. There are several first aid kits and ammunition for a shotgun and machine gun. It is scarce, so we recommend that you bring ammunition in advance.

A flock of jerboas awaits in the next room. Go through the grate into the room and kill the burer, then go down the stairs – there are also rodents here.
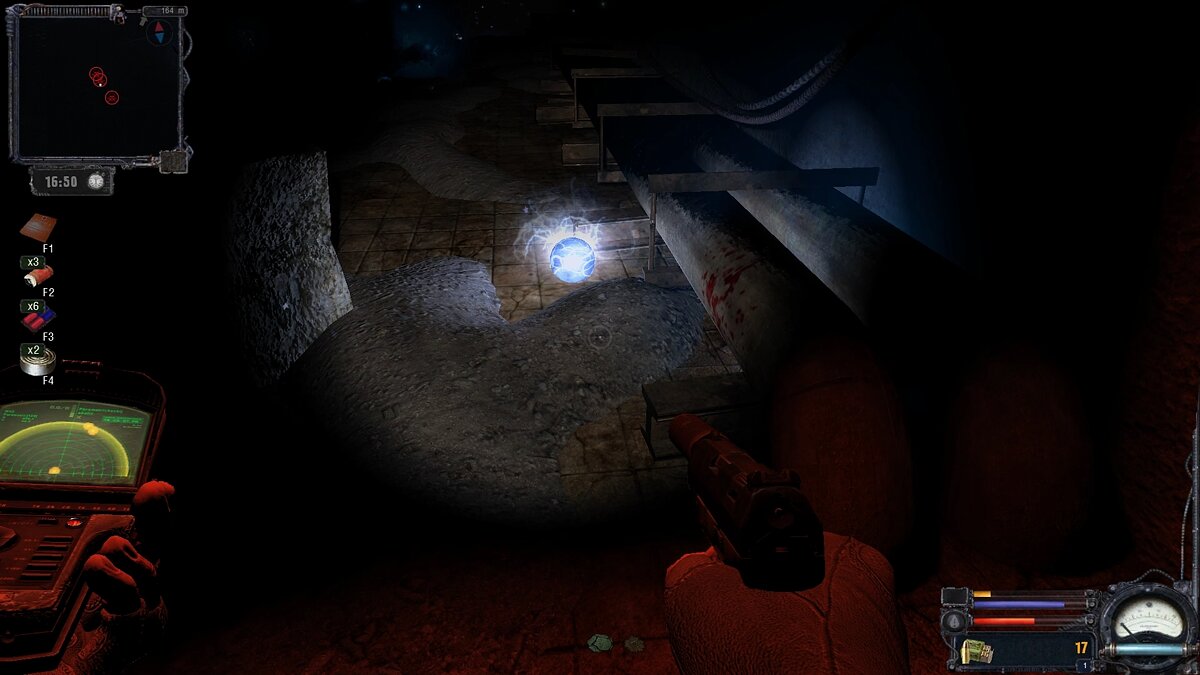
In the long corridor you will find a vertical staircase and go higher. Don’t forget to inspect anomalies for artifacts. Here you can save time if you go to the top floor and climb into the opening, which will lead to an electrical fault. At the very beginning there is another artifact.
When you’re done, go back and go downstairs. There is no need to enter the room with the leech – you go the other way. Snorks will appear on the left, but you can ignore them and run forward to the spiral staircase.
On the top floor, the hero is attacked again by rodents. Here we ran out of ammunition, so we had to fight back with a knife. We hope you have become more frugal. You can find several caches along the way, but they contain nothing useful except food and drinks.
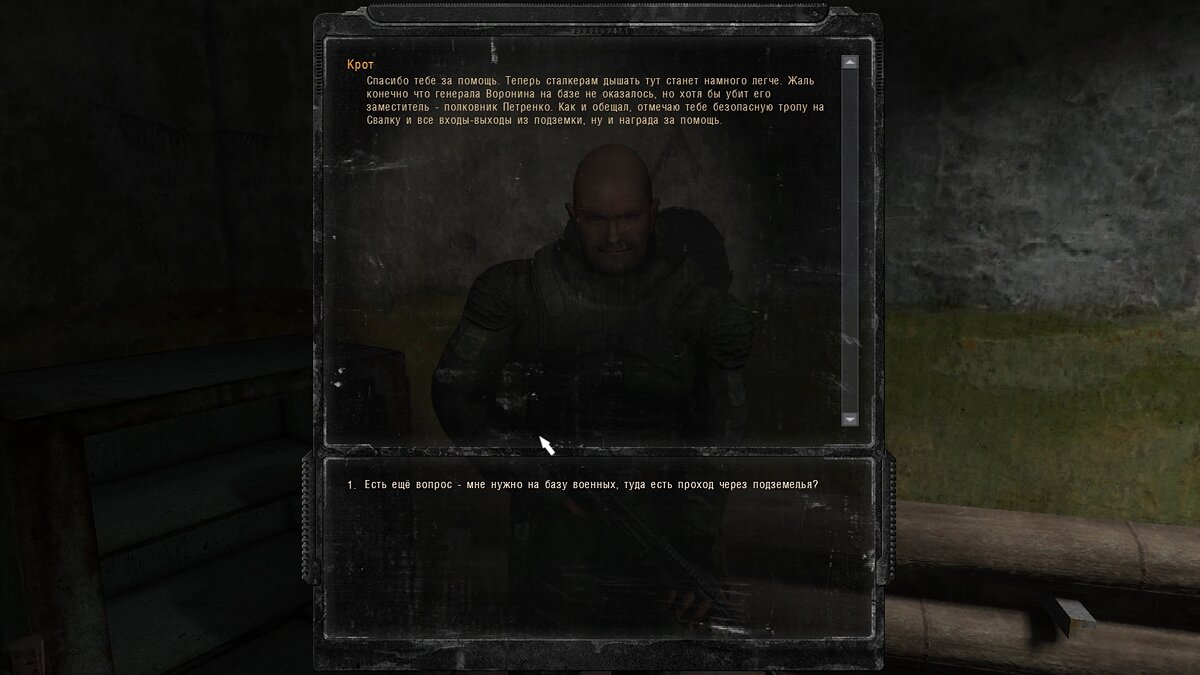
Once at the Duty base, help the stalkers with the remaining enemies. If you don’t have any ammo, borrow other weapons from the corpses. When all the enemies are killed, talk to Gray – he was waiting for us in the building on the first floor. Also go to the third floor and talk to the Mole.
The task will not end here. To get information, you have to fight the army at a nearby base. There are a lot of enemies in the area, so go around the right side and gradually take out the enemies.
As always, your best friends are trees and concrete. It is better not to hide behind other hiding places. After eliminating your enemies, talk to a foreign journalist and check out the goods of a local merchant. It appears after resting with a sleeping bag.
To the landfill
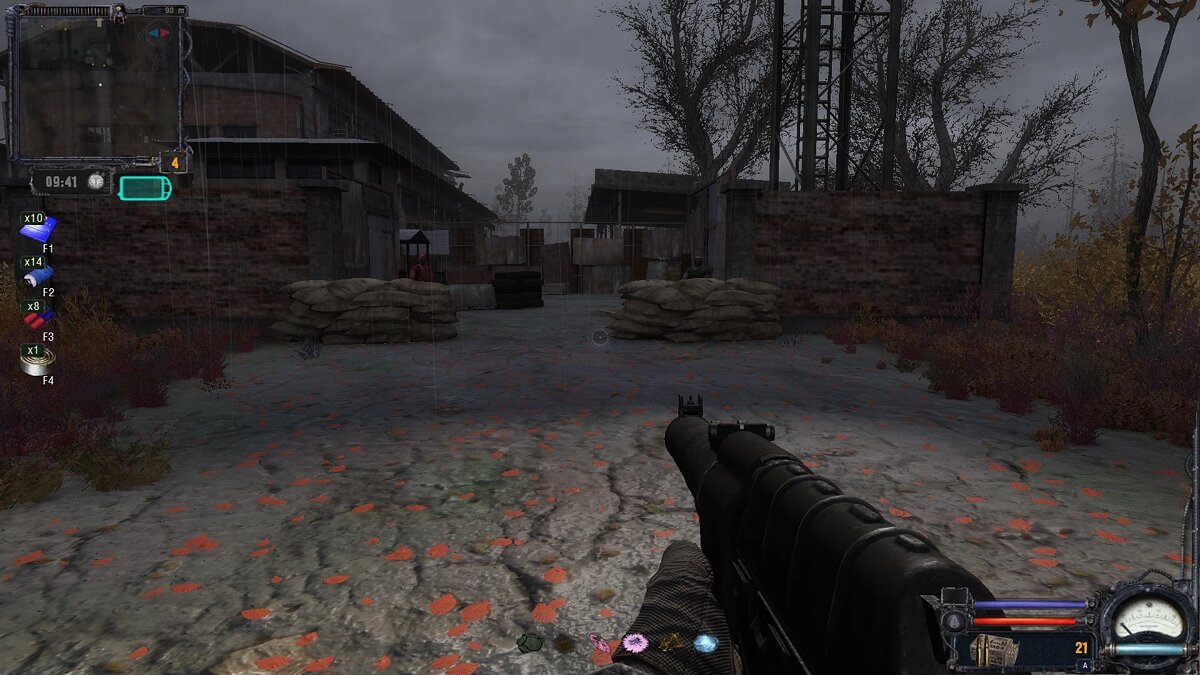
To get to another location from the military base, run along the road to the east. There will be heavy fog and near the intersection, players will encounter a military checkpoint. Go to the hangar and go to the basement to talk to the bartender.
We will update this guide soon.
Other guides
Source: VG Times
Christina Moncayo is a contributing writer for “Social Bites”. Her focus is on the gaming industry and she provides in-depth coverage of the latest news and trends in the world of gaming.